Making Sense of a Knitting Pattern
Imagine this…you are a new knitter. You’ve taken a Learn to Knit class and know how to work and identify the knit and purl stitches, and how to cast on and bind off. Now you’re ready to jump into an actual project!
You’ve seen a few patterns. Perhaps you’ve flipped through a book or looked at some patterns that are hanging by samples in My Sister Knits. Panic ensues because they look so.very.complicated! Never fear! We are here to make sense of patterns for you. Read on!
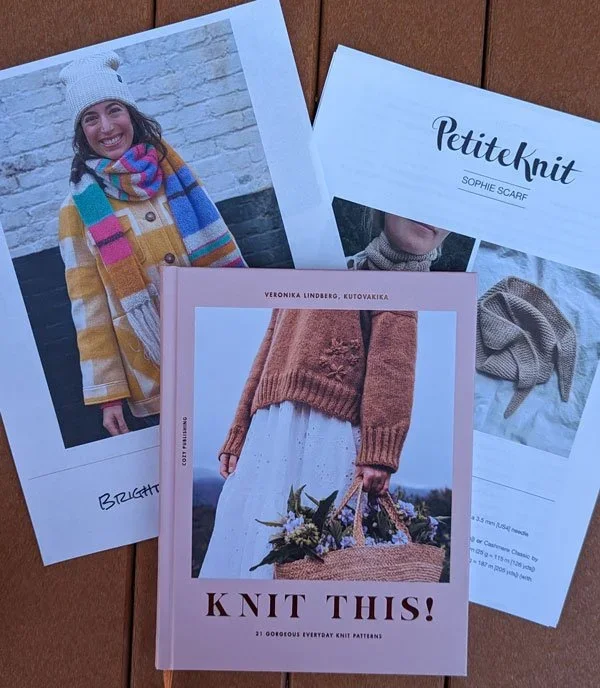
There are many parts of a pattern that are universal and standardized so let’s take a look at the first page or two of a printed pattern. This is where you’re going to decide if you want to make this particular project.
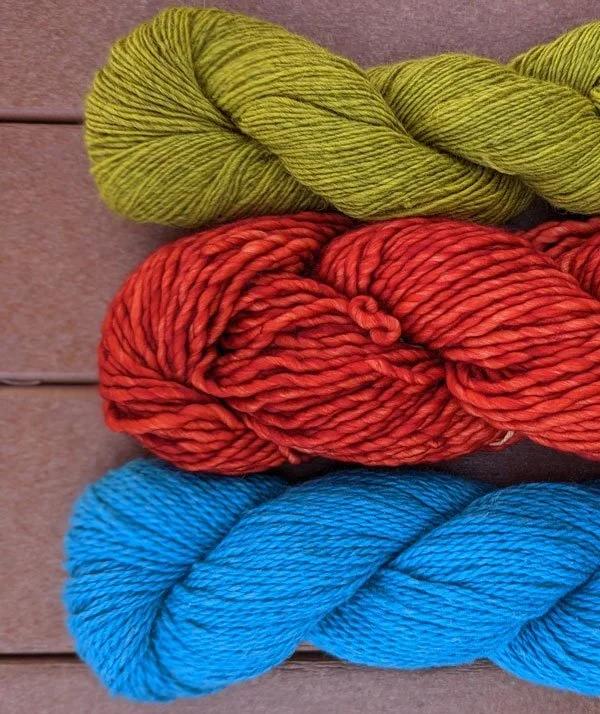
fingering weight on top, bulky in the middle, and DK on the bottom
Here you’ll find:
the yarn you’ll need
the weight of yarn, i.e., worsted, DK, fingering, etc
how much you’ll need, usually listed in both meters and yards as well as number of skeins
needles and notions/tools
the size and length of the needle
any stitch markers or tapestry needle
anything else needed to finish the project
gauge
the amount of stitches per 4 inches of fabric so your finished project will match the size of the pattern
the pattern will tell you what stitch to use
if your gauge is different from the pattern, all you’ll need to do is change your needle size which is quite common; this video is a great resource
abbreviations
here you’ll find what stitches are required
check to see if you know how to do them, and if not, are you willing to learn something new
notes
this is where you’ll find a description of the pattern and anything special the designer wants you to know
you’ll perhaps find more information in this part of the pattern such as skill level and how to work any special techniques called for
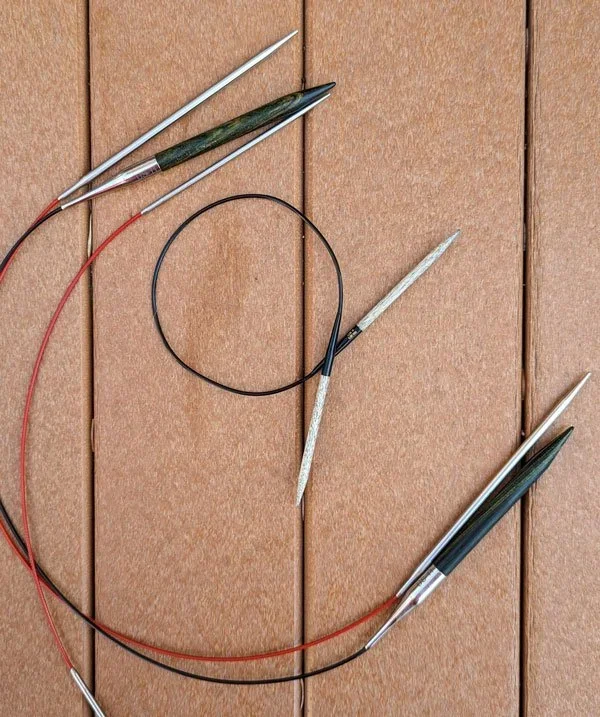
What size needle will you need?
Now you’ve chosen your pattern, you have your yarn, your correct needle size, you know what the abbreviations mean and how to make the stitches, and it’s time to cast on! This next part of the pattern will use abbreviations and symbols to tell you what to do. You can refer to the pattern’s ‘abbreviations’ section to know what they stand for. However, the symbols are what cause confusion until you get used to them!
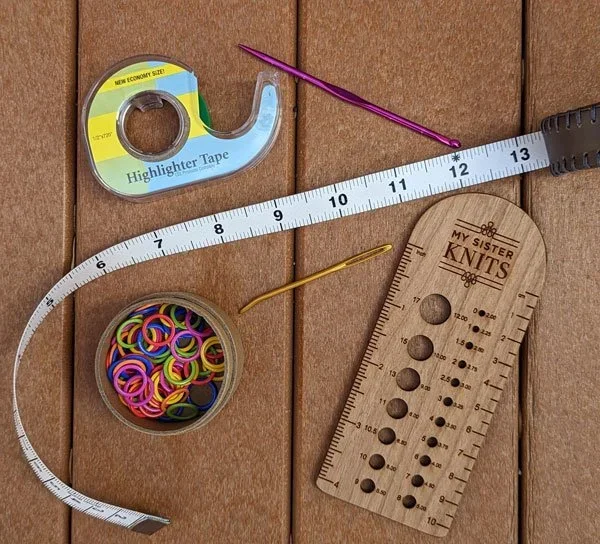
Gather your notions!
At some point, you will come across asterisks, brackets, and parentheses. These symbols break up a row of knitting into smaller, more manageable, pieces. They tell you how many times to repeat the sequence of stitches.
asterisks * usually show where a repeat begins and ends
*k2, p2, repeat from * to end of row, means you knit 2 stitches and purl 2 stitches to the end of the row
brackets [ ] indicate a section of the row that will be repeated a certain number of times.
[k1, p1] 2 times, knit to end of row, means that you will knit 1 stitch, purl 1 stitch, knit 1stitch, purl 1 stitch, and then knit to the end of the row
parentheses ( ) let you know that you will be repeating a sequence of stitches inside a larger repeat..stay with me here!
[(k2, p2) 2 times, k2tog] 3 times means that you will knit 2 stitches, purl 2 stitches, knit 2 stitches, purl 2 stitches, then knit 2 stitches together a total of 3 times. You’ll get it!
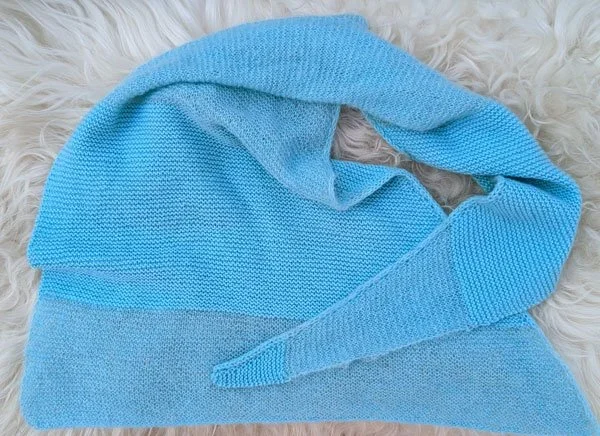
You’ll soon have a finished project! This is the Winter Doldrums shawl, a free pattern designed by Marsha Healey
This is the basic information you need to successfully read a knitting pattern! Remember that we are always ready and happy to help you figure out anything that is confusing, just ask!
Happy Knitting,