Holiday Knitting: Modern Warmer
It’s the end of August and we are beginning to think about holiday knitting! A sample popped out at me when I was in the shop the other day that would make a soft, cozy, absolutely perfect gift for a special someone.
Clinton Hill Cashmere’s Modern Warmer has all of the qualities of a luxurious beloved gift that will last for years. Made from the highest quality cashmere, it will softly hug the wearer’s neck. It is small and, therefore, quick to knit. The design is unique and will help keep your loved one warm on the coldest winter days.
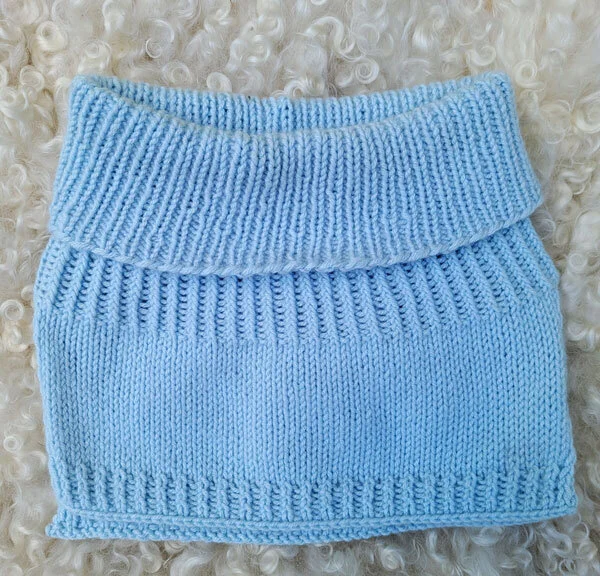
Modern Warmer is rather like a cross between a cowl and an old-fashioned dickey. It has a lovely ribbed turtleneck collar with about an 8-inch flap on the front and the back. The turtleneck hugs the wearer’s neck gently and the front and back flaps keep neck and shoulders protected from the cold under a coat.
Pattern Notes
This quick knit calls for US 8 needles. There are two sizes and I think that the smaller size will fit most everyone.
The back is made first with a cast on of 55 stitches. Ten rows of ribbing at the bottom of the front and back create a nice bottom border. A twisted rib could be substituted to give it a special look by knitting all knit stitches through the back loop.
Next is 8.5 inches of stockinette. All of the stitches are then placed on a holder and you start the front.

The front is worked in the same way except there is less stockinette. See how quick this is? There is a little bit of neck shaping that needs to be made clearer. The designer of this pattern uses words differently than we are used to. Rebecca says to “pattern 20 stitches”. What she means is to work in the established pattern for 20 stitches; some of those stitches will be the side border and some will be knit.
When she says, “pattern to end of right front”, she again means to continue in the pattern that’s been established. The way she shapes the neck is rather brilliant and only takes ten rows. You’ll be working with two balls of yarn at the same time; one for the left side and one for the right side.
The front and back shoulders are joined with a 3 Needle Bind Off which I love. It’s a little fiddly but so fun and satisfying to work!
Now it’s time to add the final touch, the turtleneck! A plain rib will work best for the turtleneck as it is stretchier than a twisted rib. The turtleneck starts with picking up and knitting stitches at the left neck shoulder, meaning the seam created by the 3 Needle Bind Off. Some of your stitches will be on a holder. I’ve been pondering the directions (which aren’t entirely clear) and I think these stitches might need to be put onto a spare needle and then knit onto the needle with the picked up shoulder stitches. I’m eager to make this so I’ll get right on it and add an update to next week’s blog/newsletter!
Voila! Your extra-special gift is done and ready to wrap!
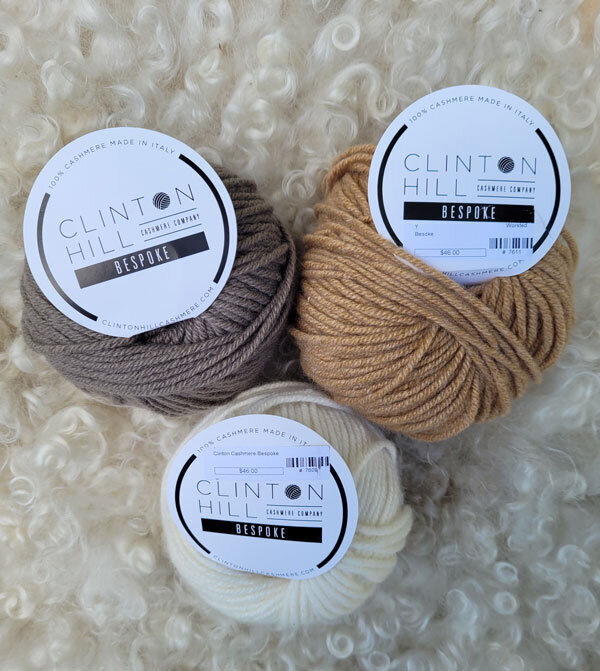
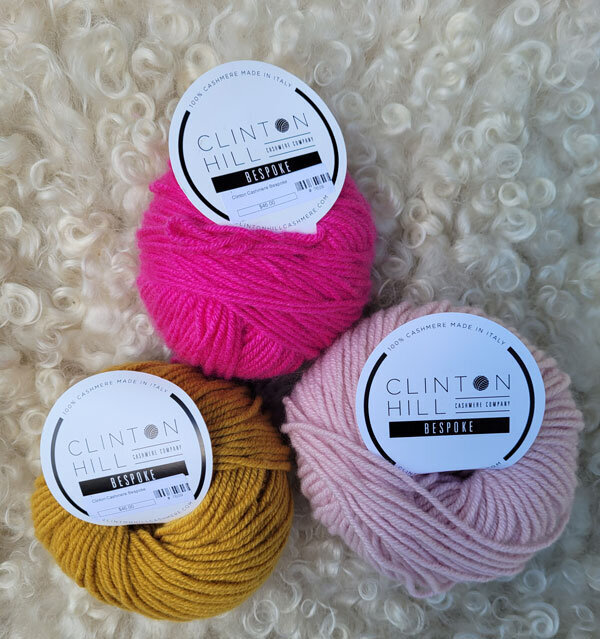
We have a good selection of colors; come in and choose your favorite! Please excuse the messiness of some of these balls; that's just what happens when the yarn is wound this way!
Happy Knitting,
Jenny