Teeny Weeny Beanie
If you haven’t seen the Teenie Weenie Beanie video, watch this before you read on! It will have you laughing and dancing in your seat!
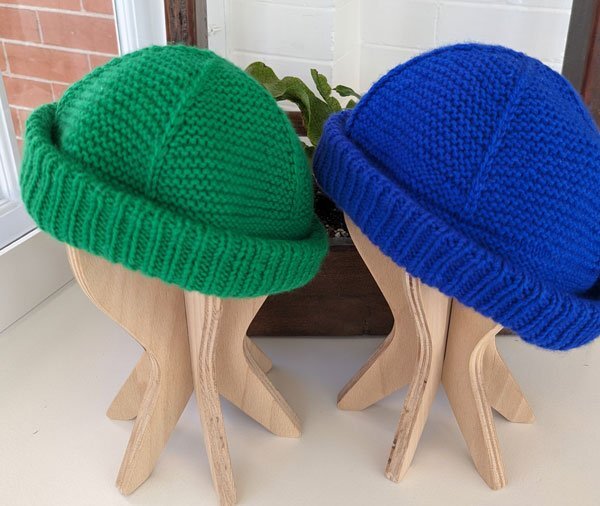
Teeny Weeny Beanie, designed by Jean-Philippe Cliche
Fortunately, the knitting world takes note of such things and Jean-Philippe Cliche was inspired to design a Teenie Weenie Beanie based on this video! Currently, My Sister Knits has two of these on display in the shop, with probably more to come!
Yes, folks, you can have your very own TWB! Jean-Philippe’s pattern uses DK weight yarn but ours are knit with two strands of fingering weight Kaos held together. The choice is yours: one strand of DK or two strands of fingering!
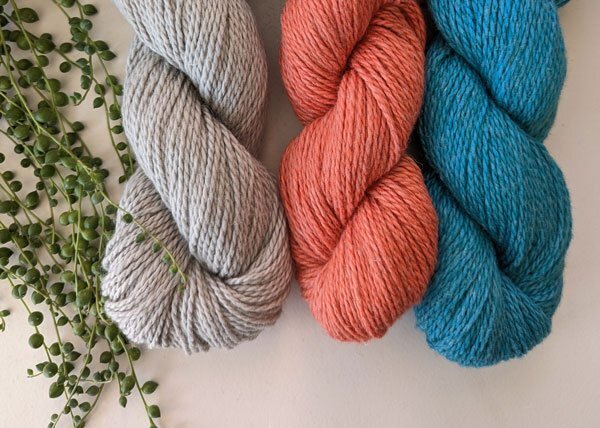
A possible yarn choice is The Fibre Co Luma, a DK weight blend of 50% Merino, 25% cotton, 15% Linen, and 10% silk
The pattern calls for a provisional cast-on which I know can give people heart palpitations. Jean-Philippe has a video tutorial that is easy to follow. He also uses Centered Double Decreases (CDD) to create the striking vertical lines on the beanie. Here is his video tutorial for a CDD. His pattern is excellently written with thorough and precise directions.
We’ve noticed that some of the newer hat patterns have a decidedly novel way of creating the brim and this hat uses it. It’s a bit difficult to envision beforehand, simply follow the pattern as written and watch it develop! It’s rather like a mystery unfolding or a puzzle coming together!

Julie’s TopTop Beanie in progress, designed by Laerke Back. Notice the look of the twisted rib!
Julie is working on another beanie pattern that also doesn’t cover the ears. It’s a different design than the Teenie Weenie Beanie but the same size. This one is worked in an all-over twisted rib pattern. Twisted rib is knit through the back loop and creates an attractive knit stitch that sits on top of the fabric. This pattern, the TopTop Beanie, is written by Danish designer Laerke Back.

Another possible yarn choice is Explorer Knits Rockies DK, 100% superwash Merino
There is one part of this pattern that is a bit confusing. Laerke assumes that we are familiar with turning our work to knit in the other direction. She says, “Turn the work and work in the opposite direction with short rows”. I just did this on a hat I’m making and here are the more precise directions from my pattern, starting at the beginning of the round, just after you’ve slipped the marker to the right-hand needle: “K1, turn work, create a double stitch using the German short row method. Slip BOR m, K to DS (double stitch), K the DS as one stitch to resolve.” Here’s a video tutorial; you only need to watch to the very first turn. In order to turn your work and start knitting in the other direction, you work only one DS, that’s all there is to it! This is part of the new way of creating a brim that I mentioned earlier.
Now you have a choice of teeny-weeny beanies to make! Choose a fun color and whip up one of these for a cute spring accesory!
Happy knitting,